Chest freezer cold plunge: cost and risks
A chest freezer cold plunge costs owners about $300 to $650. How to seal it, the controller it needs, what fails after a year or two and the electrical risk.
Parts for the build
- Inkbird ITC-308 temperature controllerUnder $300See it on Amazon
- J-B Weld WaterWeld epoxy putty stick, 2 oz (8277)Under $300See it on Amazon
- Pond Armor Pond Shield clear epoxy, 1.5 quartUnder $300See it on Amazon
- Suoimk Floating ice bath thermometer with timerUnder $300See it on Amazon
The short answer
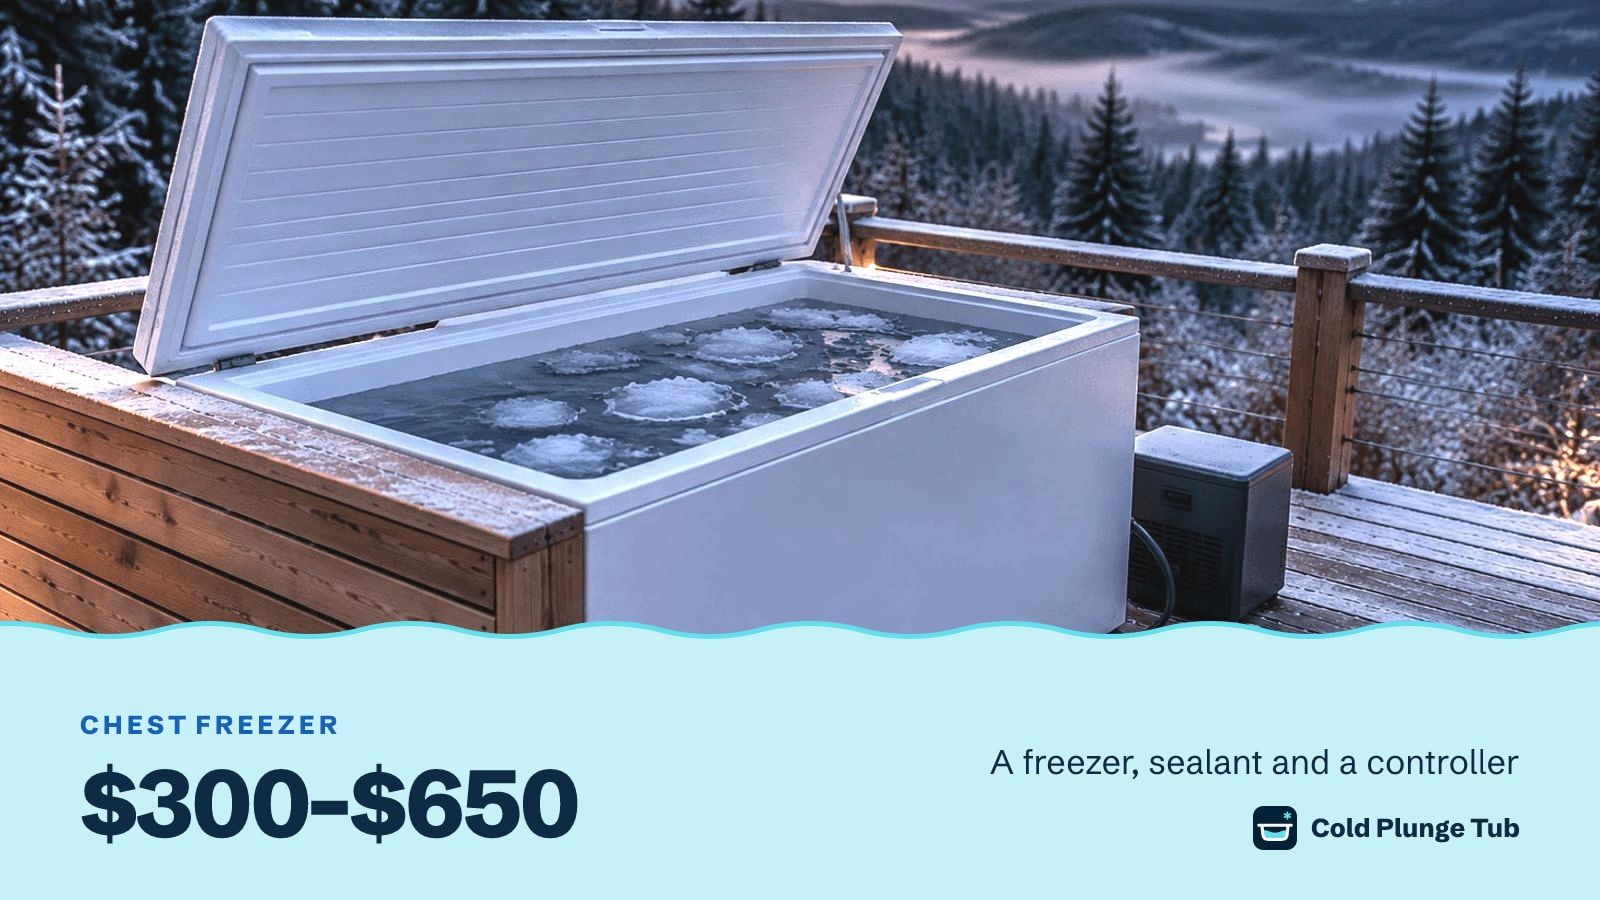
$300 to $650
Owners on r/coldplunge spent from just under $300 to about $650 on a chest freezer cold plunge: a freezer, a sealant for the seams and a temperature controller. It is the cheapest way to get water that stays cold without ice. It is also a mains appliance full of water, so the wiring matters more than the build.
Parts for the build
- Inkbird ITC-308 temperature controllerUnder $300See it on Amazon
- J-B Weld WaterWeld epoxy putty stick, 2 oz (8277)Under $300See it on Amazon
- Pond Armor Pond Shield clear epoxy, 1.5 quartUnder $300See it on Amazon
- Suoimk Floating ice bath thermometer with timerUnder $300See it on Amazon
What a chest freezer cold plunge is
A chest freezer cold plunge is a household chest freezer, sealed so it holds water, with an outside controller that switches it off before the water freezes. The freezer is both the tub and the chiller. There is no pump loop and no hose, which is why owners like it. The other ways to build one are in the DIY cold plunge tub.
We have not built one. This page comes from nineteen owner threads on the r/coldplunge forum, read in October 2026, and our own arithmetic. No freezer maker sells its freezers for this, and nothing here is a maker’s instruction.
- $300–$650 What owners spent
- 14–16 cu ft The size that fits an adult
- About 20 hours One owner’s build time
- 4 years The longest-running build we read
All four are owner reports from r/coldplunge. The range runs from a used freezer with pond sealer to a new one.
Read this before anything else
The Consumer Product Safety Commission says ground-fault circuit interrupters belong on every outlet within 20 feet of a pool or spa, and that they should be tested monthly. That advice was not written for a converted freezer. Nothing official is, and that is the point. The rest of what applies to any tub is in cold plunge safety.
What it costs
| Build | What the owner spent | What it included |
|---|---|---|
| Used freezer, sealed by hand | Just under $300 | Used freezer, pond sealer, marine caulk, controller, aquarium filter |
| New freezer, epoxy coated | About $460 | Freezer, seam putty, pond epoxy, peroxide, submersible filter, controller |
| Small freezer | About $500 | A 7 cu ft freezer, all in |
| Freezer with a drop-in liner | About $550 | A 15 cu ft freezer on sale at $350 and a $200 liner |
| New freezer, sealed | About $650 | New freezer, seam putty, water filter, controller |
The spread is mostly the freezer. One owner paid $50 for a used one, another $700 for a new one with a variable-speed compressor.
Count your time too. The owner who spent $460 put in “around 20 hours of labor spaced out over a couple weeks” and wrote that in hindsight a tub with a chiller would have been easier for about the same money. Another said his build “cost way more money and way, way, way more time” than he expected.
Parts list for a chest freezer cold plunge
- 1×
Chest freezer, 14 to 16 cu ft
The tub and the chiller in one. Owners paid $50 to $300 used and $350 to $700 new
$50 to $700Appliance store, or used locally - 1×
Inkbird ITC-308 temperature controller
Switches the freezer off at your set temperature. Without one the water freezes solid. Its listing gives a maximum load of 1,100 W, so check your freezer's rating
- 1×
J-B Weld WaterWeld epoxy putty stick, 2 oz (8277)
For every inside seam and the drain hole. Its listing says it sets in 25 minutes and cures in an hour. You will need several sticks
- 1×
Pond Armor Pond Shield clear epoxy, 1.5 quart
The coating most owners roll over the whole interior, in two coats. Owners paid about $200 for it, or $180 to $200 for a fitted liner in its place
- 1×
Submersible filter or aquarium filter
Keeps the water moving and clear
Pet or pond shop - 1×
Rigid foam board
Under the freezer, to spread the weight and stop condensation rusting the base
Hardware store - 1×
Small submersible pump and a hose
For draining, since the drain hole gets sealed
Hardware store - 1×
Suoimk Floating ice bath thermometer with timer
A second reading, so you are not trusting the controller alone
Total for the buildAbout $300 to $650What owners on r/coldplunge reported spending, from a used freezer to a new one. We have not built this.
Which freezer to buy
Get one you fit in. That sounds obvious and it is the regret owners report most.
| Freezer | Who it fits, by owners |
|---|---|
| 7 cu ft | Small. One owner called his “a bit too small” |
| 14 cu ft | A 6 ft 1 in owner fits. Broad shoulders may need more |
| 15 to 16 cu ft | The size one daily user recommends |
| About 500 litres | Chosen by a 6 ft 2 in owner |
A 14 cu ft freezer holds about 105 gallons to the brim, by our maths at 7.48 gallons to the cubic foot. You fill it well short of that, because you displace water when you get in. A hundred gallons weighs 834 lb, so check the floor.
The inside matters as much as the size. Owners describe three kinds.
- Aluminium. Common, and the one that corrodes. See the section on what fails.
- Coated steel or hard plastic. Preferred by owners who have had aluminium pit.
- Stainless steel. “The holy grail”, one owner wrote, and hard to find at a fair price.
New or used is a real choice. A used freezer costs little and may not last. One owner builds his wooden surround with screws so he can swap in the next used freezer when this one dies.
How to seal it
There are three ways, and owners argue about which is enough.
| Method | What it involves | What owners report |
|---|---|---|
| Seams only | Marine sealant or epoxy putty on every inside joint | Years of use on an aluminium interior, by two owners. “Pond seal is overkill,” one says |
| Seams, then pond epoxy | Sand, putty the seams, then two coats of epoxy over the whole interior | The most common method. One build is at four years with a coat its owner calls mediocre |
| A liner | A fitted vinyl liner, or a sheet of pond liner folded in | Fast. One owner’s liner yellowed in sun. Thick 45 mil pond liner is stiff and wants two people |
- Put the freezer where it will live. On rigid foam board or a mat, with its vents clear. You will not move it once it is full.
- Seal every inside seam. Epoxy putty or marine sealant, pressed into each joint. Let it cure for the time on the pack.
- Seal the drain hole shut. One owner called the drain “the main fail point” of his first freezer. Drain with a small pump from then on.
- Coat the interior or fit a liner. Two coats of pond epoxy over a sanded surface, or the liner.
- Run the cables over the rim. Do not drill the walls. A rubber cable channel under the lid seal does the job, by one owner.
- Wire in the temperature controller. The freezer plugs into it, and its probe sits in the water.
- Fill, add ice, and wait. See the next section.
The controller is not optional
A freezer’s own thermostat aims below freezing. Left to itself it turns the water into one block of ice, and one owner warns the expanding ice “will literally blow apart your entire freezer”.
An external temperature controller fixes that. It cuts power to the freezer when the probe in the water reads your set point, and restores it when the water warms. Owners in these threads run theirs at 40°F and at 48°F. The range medical sources recommend is 50 to 59°F, which is covered in how cold an ice bath should be.
How long it takes to get cold
Longer than a chiller. A freezer is built to hold cold, not to pull heat out of 100 gallons.
One owner fills his with 75°F water and 40 lb of ice, in an air-conditioned house, and it still takes more than 48 hours to reach temperature. Another puts it at about 24 hours with no ice. Both say to add ice at every refill, because running the compressor flat out for a day or two is what wears it. Once cold, one owner guesses his freezer runs less than two hours a day.
The outside walls get hot while it works. Several owners were alarmed by this and it is how a freezer sheds heat. Leave the vents and walls clear, and do not box them in.
What fails, and when
Every review should list the bad with the good, and here the bad is specific.
- Corrosion of an aluminium interior. The most repeated problem, from three owners in two threads. An owner with hard water had scale pit the aluminium, and another got “many small leaks” after six months. A third, at three years, has holes and water behind the liner.
- The compressor. One owner’s failed at 18 months. The part cost over $400 on a $700 freezer, so he bought a chiller. Another left his in the sun and now needs a compressor.
- Paint that bubbles. One owner never got pond paint to go on without bubbling, and still uses the freezer daily.
The fixes owners used for corrosion were appliance enamel at about $20, touched up every six months, pond epoxy at about $200, or a custom liner at about $500.
Against that, the long-running builds. One has run since 2022. One is at three years with “exactly 0 issues” and four water changes. One has sat outdoors under a tarp for a year. At least seven owners in these threads report a year or more without a fault.
Keeping the water clean
A chest freezer has no filter of its own, so you add one. The setups owners report keeping water clear for months pair a filter that runs daily with a sanitiser: ozone for 30 to 60 minutes a day, hydrogen peroxide, or a small dose of chlorine. One owner who relied on ozone alone had green growth in two weeks.
The doses, and what ozone needs in a closed space, are in cold plunge water care.
Chest freezer or a tub with a chiller
Build the chest freezer if
You like a project, you want no hoses and little noise, and you accept that a freezer was never meant for this. Owners also point out that any appliance repair shop can look at a freezer.
Buy a tub and a chiller if
You want a product with a warranty and a plug made for the job, or you will not unplug it every time. The cost is closer than it looks once you count your hours.
A dead freezer is not wasted. One owner whose compressor failed kept the sealed freezer as the tub and added a chiller, which is the build in the DIY cold plunge chiller. If you would rather start with a plain tank, see the stock tank cold plunge. Ready-made chillers are in the best cold plunge chillers.
Common questions
Is a chest freezer cold plunge safe?
It carries a risk a made-for-purpose tub does not: you are in water inside a mains appliance. Owners who run them say to use a GFCI outlet for everything and to unplug the freezer before getting in. No safety body has approved a freezer for this use.
How much electricity does a chest freezer cold plunge use?
Nobody in the threads we read measured it. One owner guesses his runs under two hours a day, and one switched from a chiller to a freezer to cut his bill. Another calls the freezer less efficient. We give no figure.
Do you need to coat the whole inside?
Owners disagree. Two report years of use with only the seams sealed. The owners who had leaks had aluminium interiors and hard water, so a full coat or a liner is the cautious choice there.
Can you leave a chest freezer cold plunge outside?
Some do. One has sat outdoors under a tarp for a year and one under a gazebo. The owner who left his in direct sun needs a new compressor, so shade it and keep rain off.
What size chest freezer do you need for a cold plunge?
14 to 16 cubic feet for most adults, by owners’ reports. A 7 cubic foot freezer is cheap and cramped.