DIY cold plunge chiller for under $1,000
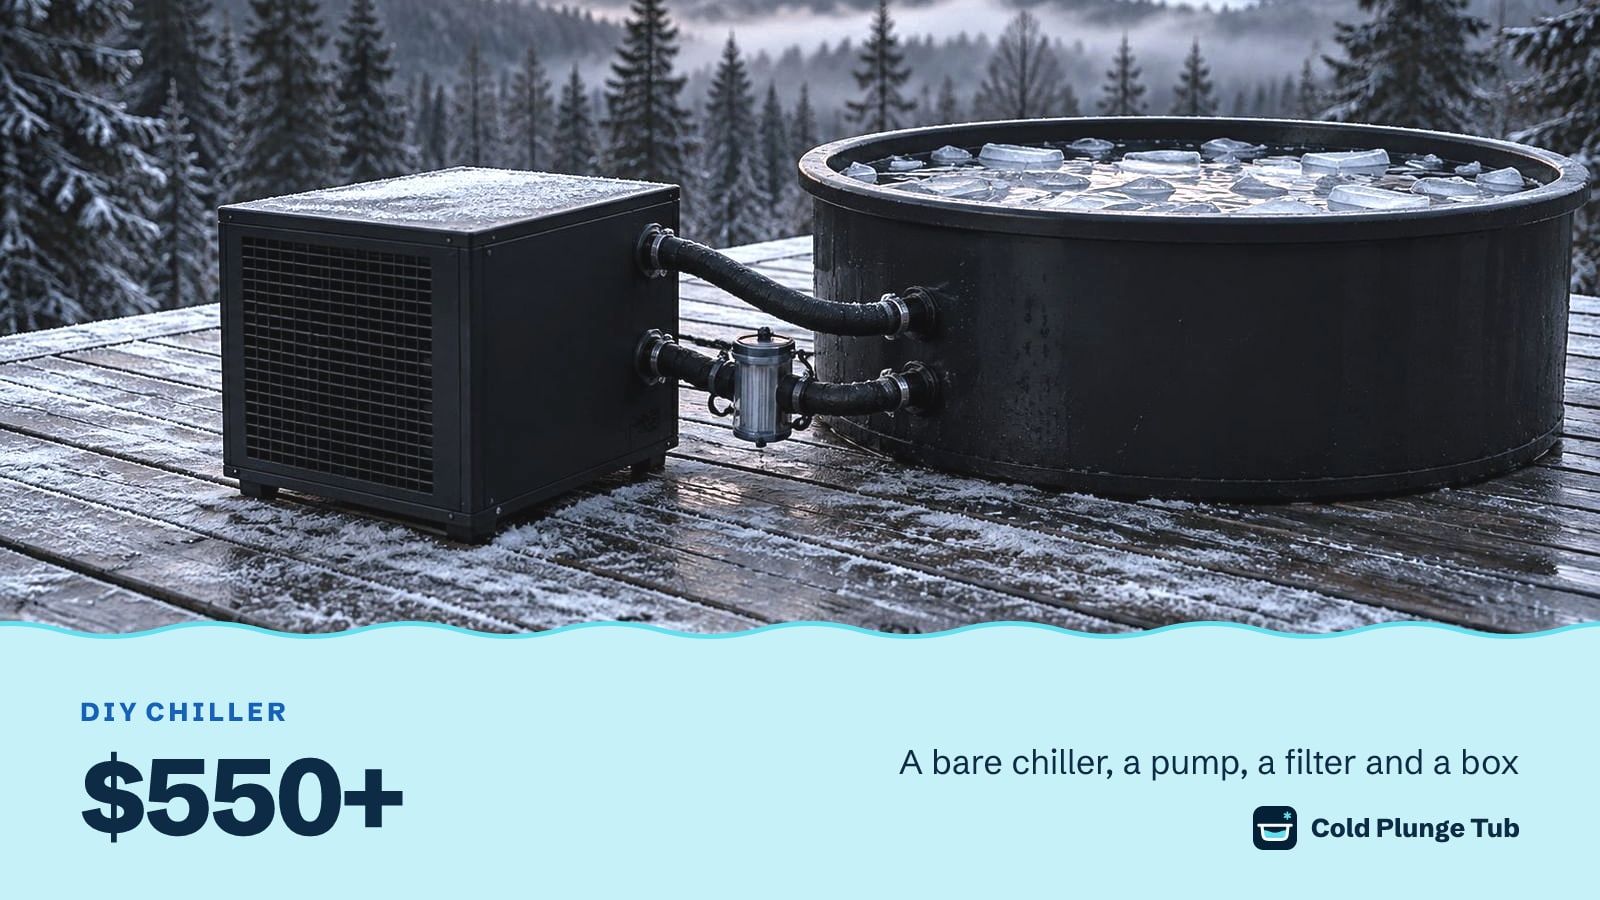
A DIY cold plunge chiller is a bare aquarium chiller, a pump and a filter in a vented box. Owners build one for $550 to $1,000. Parts, order and mistakes.
Chillers owners build around
- Active Aqua Chiller with Power Boost, 1/4 HP (AACH25HP)$300–1,500See it on Amazon
- Active Aqua Chiller with Power Boost, 1/2 HP (AACH50HP)$300–1,500See it on Amazon
- AS ColdPlunge AS-AY30042°F statedSee it on Amazon
The short answer
$550 to $1,000
That is what owners spend on a DIY cold plunge chiller. You don’t build the refrigeration. You buy a bare aquarium chiller and add the pump, the filter and the plumbing a finished unit would include, usually in a vented deck box beside the tub.
Chillers owners build around
- Active Aqua Chiller with Power Boost, 1/4 HP (AACH25HP)$300–1,500See it on Amazon
- Active Aqua Chiller with Power Boost, 1/2 HP (AACH50HP)$300–1,500See it on Amazon
- AS ColdPlunge AS-AY30042°F statedSee it on Amazon
What a DIY cold plunge chiller is
A DIY cold plunge chiller is a chilling system you assemble from separate parts: a bare water chiller, a circulation pump, a strainer, a filter and hoses. A bare chiller is a compressor and a heat exchanger in a case. It cools water that something else pumps through it, and it has no pump or filter of its own.
Owners build one because branded cold plunge chillers cost “$2-3k” in their words, and the parts cost far less. It works with any tub that has two ports, and it is the cooling half of the DIY cold plunge tub.
We have not built one. This page is assembled from fourteen threads on the r/coldplunge forum, dated 2023 to 2026, and from the makers’ spec pages for the chillers named.
- $550–$1,000 Total, by two owners’ builds
- 1/4 to 1/2 HP The chillers owners use
- 3,010 BTU An hour, from a 1/4 HP
- Vents on two sides What the box needs
Costs are owner reports from r/coldplunge. The cooling capacity is Active Aqua’s spec for its 1/4 HP chiller.
Can you make a chiller from scratch?
Not usefully. People ask about building an ice bath chiller from a mini fridge, an ice maker, a window air conditioner or a bare compressor, and we found no finished example in any thread.
- One owner proposed running a copper coil through an old ice maker. Replies agreed it could work “in theory” and nobody reported doing it.
- One ran a pipe through a chest freezer and back to the tub, and called it an effort in progress.
- One listed the parts for a 1.5 HP compressor build and got no answers.
- One who had considered a freezer-based chiller dropped it: “the price for a freezer setup would be more than the cost of just buying a chiller.”
That last point settles it. A bare 1/3 HP chiller costs one owner $270 at a big-box store. You will not beat that with salvaged parts, and you would be handling refrigerant and mains wiring next to water. Build the system around a chiller someone else made.
Parts list for a DIY ice bath chiller
- 1×
Active Aqua Chiller with Power Boost, 1/4 HP (AACH25HP)
The bare chiller most cooler and barrel builds use. 3,010 BTU an hour, for 40 to 92 gallons by its maker. Owners paid $600 to $650
- 1×
Active Aqua Chiller with Power Boost, 1/2 HP (AACH50HP)
The step up, in place of the 1/4 HP: 4,020 BTU an hour, for 90 to 172 gallons
- 1×
Pondmaster Magnetic-Drive Utility Pump 1200 GPH (02722)
Moves the water. Owners paid $105 to $139
- 1×
Inline strainer, 100 mesh
Before the pump, to keep hair and grit out of it
Hardware or pond supplier - 1×
GE Whole House Water Filtration System (housing)
After the pump. Owners fit a 20-micron cartridge
- 1×
Lamudo Ozone generator with Venturi injector
Optional. Goes on the return, after the chiller. A small brand, chosen on its listing alone
- 1×
Deck box, with vents cut into two sides
Houses the chiller, pump and filter. See the venting section
Hardware store - 1×
3/4 in hose, barbs, clamps, unions and two ball valves
A valve at each tub port lets you service the box without draining
$70 to $95Hardware store - 1×
Pipe insulation
On every hose, inside the box and out
$18Hardware store - 1×
GFCI outlet or adapter
Not optional. Everything plugs into it
Hardware store
Total for the build$550–$1,000Two owners' totals on r/coldplunge: about $550 in 2023 for the chiller, box and supplies, and under $1,000 in 2026 with a strainer, filter and ozone.
Parts with a button are on Amazon, whose prices we don’t print. Buy one chiller, not both.
Cheaper chillers exist. Two owners run 1/3 HP aquarium chillers bought at a big-box store, one for $270, and report over a year and two years of use. We have not read a maker’s spec for those, so they are not in the list.
The order the water flows in
- Tub outlet, low on the tub. A ball valve first, so you can shut it off.
- Strainer. It protects the pump.
- Pump. One commenter’s rule is that a pump pushes against a restriction better than it pulls through one, so the fine filter goes after it.
- Filter. After the pump is also easier to reach when you change the cartridge.
- Chiller.
- Ozone, if you use it. On the return, so fresh ozone never passes through the chiller.
- Tub inlet, higher up, with a second ball valve.
Owners argue about steps three and four, and builds with the filter ahead of the pump work too. Nobody argues about ozone: it goes after the chiller. One owner built it the other way round and replumbed everything.
Match the pump to the chiller. Active Aqua states a flow of 396 to 925 gallons an hour for its 1/4 HP and 800 to 1,600 for its 1/2 HP. A pump’s rating is for open flow, and every filter and bend takes some off. One owner measured 8 gallons a minute, which is 480 an hour, from a pump rated at 2,245.
Venting the box
This is the mistake owners make most. A chiller moves heat out of the water and into the air around it. Shut that air in a box and the chiller heats itself.
| Setup | What the owner reports |
|---|---|
| Deck box with one vent, lid closed | The chiller drew 500 W and the water “barely” dropped in four hours. With the lid open it drew 320 W and cooled |
| Resin box in direct sun, three vents and USB fans | 130°F inside the box on a 70°F day |
| Vented box, 1/3 HP, New York summer | Could not hold temperature. Replies said the chiller could not breathe |
| Deck box with a second vent added | Working “great” after the change |
The fixes owners give are the same every time. Cut vents in at least two sides, intake and exhaust. Don’t cover them with fine mesh, because the fans on small chillers are weak. Add small fans if the box still runs hot, and keep the box out of the sun.
Active Aqua approves both of its chillers for indoor use only. Owners run them outdoors in boxes regardless, and that is their risk, not the maker’s.
How long a DIY water chiller takes to cool
A 1/3 HP chiller on an insulated 77 gallon barrel took about eight hours to bring the water to the high 50s, by one owner. Left running overnight, it took the same water from 59°F to 34°F.
The tub matters as much as the chiller. The owner in New York had the same size chiller on a thin soft pod and lost the fight in summer. An owner in the UK with a 1/2 HP chiller logged its run times and found it starting “only a couple of times a day”, then running without a break in a heatwave.
The arithmetic is in our guide to chiller sizing: gallons × 8.34 × the degrees to drop, divided by the chiller’s BTU an hour. At 3,010 BTU an hour, taking 80 gallons from 70°F to 50°F is about four and a half hours at best.
The shortcut: a chiller with the pump built in
If the plumbing puts you off, buy a chiller that includes the pump and filter. One commenter says the AS ColdPlunge units are a rebadged aquarium chiller “a lot of us either have or have had”, and they come with a pump and filter built in. You connect two hoses and you are done.
You lose the choice of pump and the big filter cartridge. You save the box, the fittings and a weekend. The AS ColdPlunge is in the best cold plunge chillers with what its owners report.
Winter, and when it breaks
- Freezing. Owners bring the chiller indoors before the first frost and let the weather cool the tub. One keeps an aquarium heater in the water so it never freezes solid.
- Not cooling. Check the flow first. One reply to an owner with a failing chiller says to run it without the filter cartridge, to rule out a blocked filter, then clean the intake screens and the coils at the back.
- A clicking chiller that won’t start. Replies point to the start capacitor, “usually an inexpensive part”, before the compressor.
- Leaks. Not normal. If the fittings are tight and the pump body leaks, replies say to return the pump.
That repairability is the case for building your own. An owner whose branded chiller died after eighteen months, with its seller out of business, switched to a build from “cheap, easily replaceable components”.
Common questions
Is it cheaper to build a cold plunge chiller?
Yes, against a branded cold plunge chiller. Owners spend $550 to $1,000 where a branded unit costs two to four times that. Against a chiller that comes with its own pump and filter, the saving is small.
What size chiller do I need for a DIY cold plunge?
A 1/4 HP for an insulated tub up to about 90 gallons, and a 1/2 HP above that, by Active Aqua’s own ratings. Insulate the tub before you size up.
Can I use an aquarium chiller for a cold plunge?
Yes. That is what most of these builds use. Check the coldest temperature it will set and the flow it needs.
Can a window air conditioner chill a cold plunge?
People discuss it and we found nobody who finished one. It means reworking sealed refrigerant parts, and a bare chiller costs less.